Custom Auto Darkening Welding Helmets: What Can Be Customized?
A welding helmet is not just a protective shell worn during welding. It combines an auto-darkening filter, viewing area, sensors, power system, lens protection, headgear, and external controls. When a company needs welding helmets for a specific application, workforce, brand, or sales channel, many of these parts can be customized.
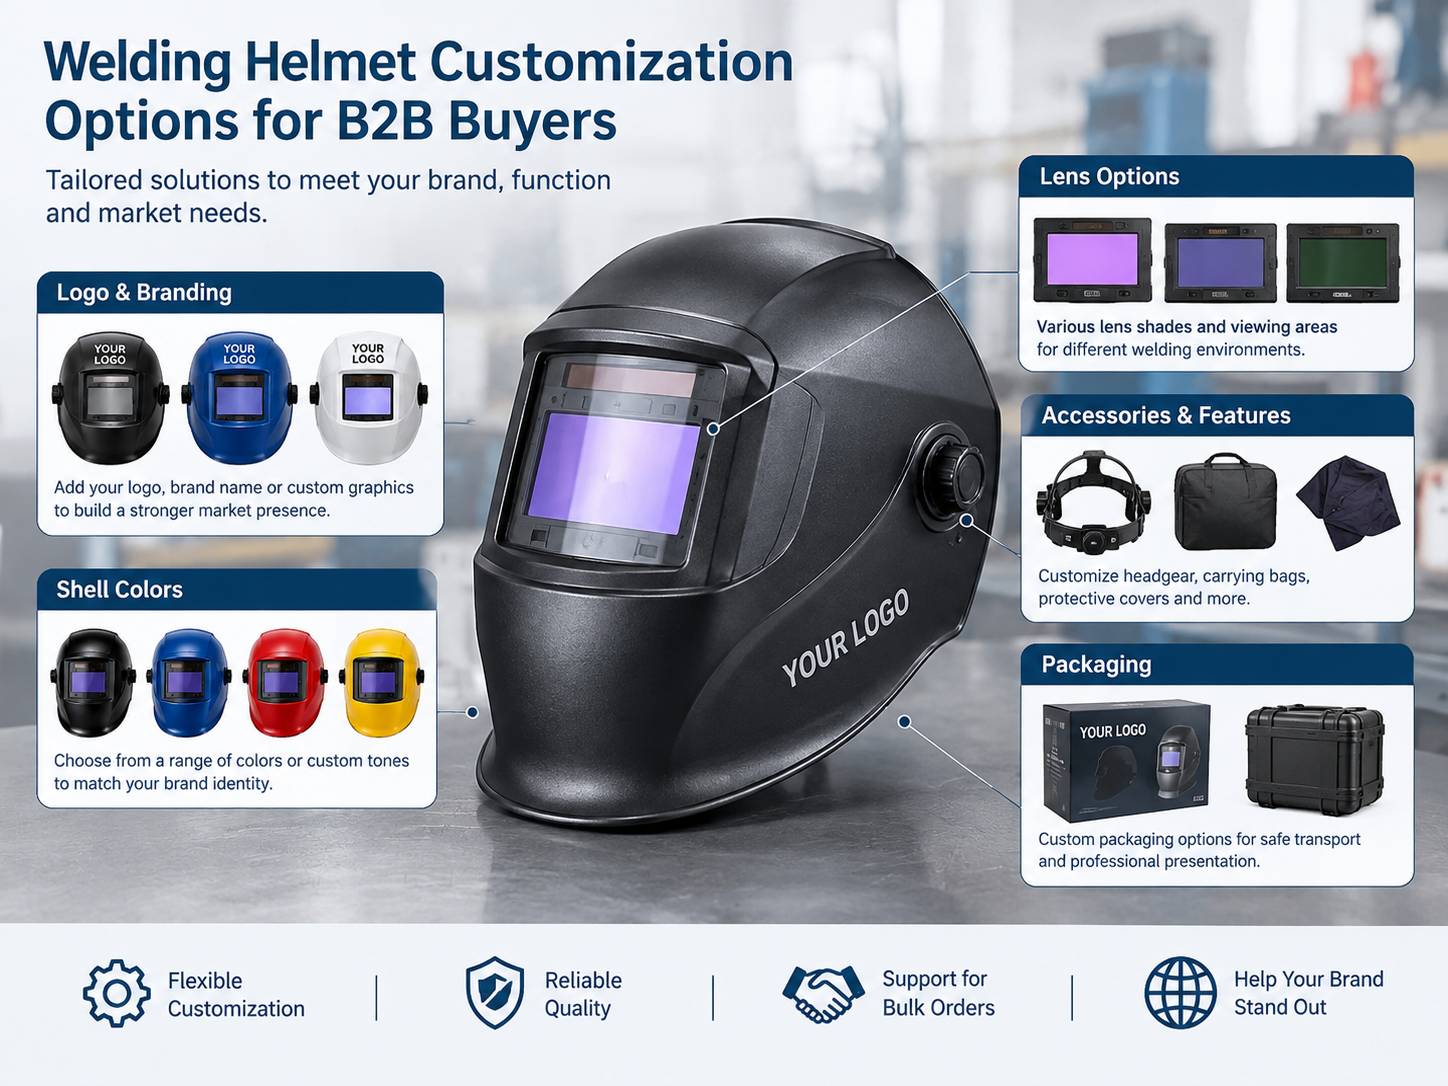
That is where a Custom Auto Darkening Welding Helmet becomes useful for welding equipment distributors, industrial suppliers, welding schools, safety-product brands, and companies purchasing helmets in volume. Customization can cover the appearance, lens settings, viewing configuration, headgear, accessories, packaging, and branding.
Still, not every specification should be changed simply because customization is available. The intended welding process, working environment, protection requirements, and applicable market standards all need to be considered before the design is finalized.
This guide looks at the main areas buyers can customize and explains what should be checked during product development and sample approval.
1. Start With the Welding Application and User Requirements
Before discussing colors or logos with a supplier, buyers should define how the helmet will actually be used.
Different welding applications can create different requirements for lens shade adjustment, visibility, response characteristics, helmet coverage, and operating comfort. MIG, TIG, stick welding, and grinding may involve different working conditions, so one configuration may not suit every user.
The first step should usually include questions such as:
- What welding processes will the helmet be used for?
- Will grinding be part of the work?
- Is the helmet intended for professional workshops, fabrication, maintenance, education, or occasional use?
- Will users work indoors, outdoors, or in changing light conditions?
- What market will the helmets be sold in?
- What certification or compliance requirements apply to that market?
These details give the manufacturer a practical starting point for customization. They also help prevent a situation where the buyer chooses specifications based mainly on appearance.
2. Auto-Darkening Lens Settings Can Be Customized
The auto-darkening filter is one of the most important parts of the helmet. Depending on the product platform and manufacturer, buyers may be able to customize or select settings related to shade range, sensitivity, delay, and operating modes.
For example, a helmet may offer controls that allow the user to adjust how quickly the lens returns to its lighter state after the welding arc stops. Sensitivity settings can also help the filter respond appropriately to the welding environment.
| Lens Feature |
What Buyers Should Consider |
| Dark shade range |
Match the intended welding applications |
| Light shade |
Affects visibility when the filter is not darkened |
| Sensitivity |
Helps adjust response to the welding environment |
| Delay |
Controls return timing after welding stops |
| Grinding mode |
Useful when the helmet is also used for grinding |
| Viewing area |
Influences the user’s field of view |
The available range and controls depend on the selected lens system, so buyers should confirm the exact configuration with the supplier before preparing product specifications.
3. The Viewing Area Can Be Changed
Viewing area is another important customization point.
A larger viewing window can make it easier for operators to see the work area, especially when positioning a torch or electrode. However, the overall helmet structure, filter size, internal components, and front-shell design all place limits on what can be changed.
Buyers should consider how the helmet will be used instead of treating a larger lens as automatically better for every application.
For industrial users, peripheral visibility may also be relevant. A product designed for detailed welding work can have different priorities from one intended for general fabrication.
When reviewing a sample, ask users to wear the helmet and perform typical movements. Check whether the viewing area provides the visibility needed for the actual work position.
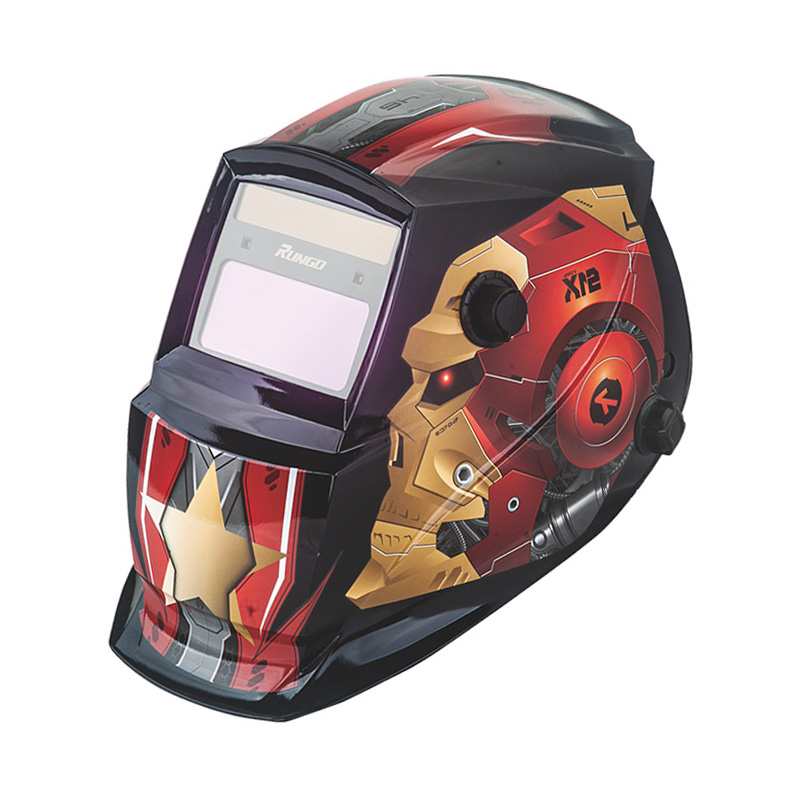
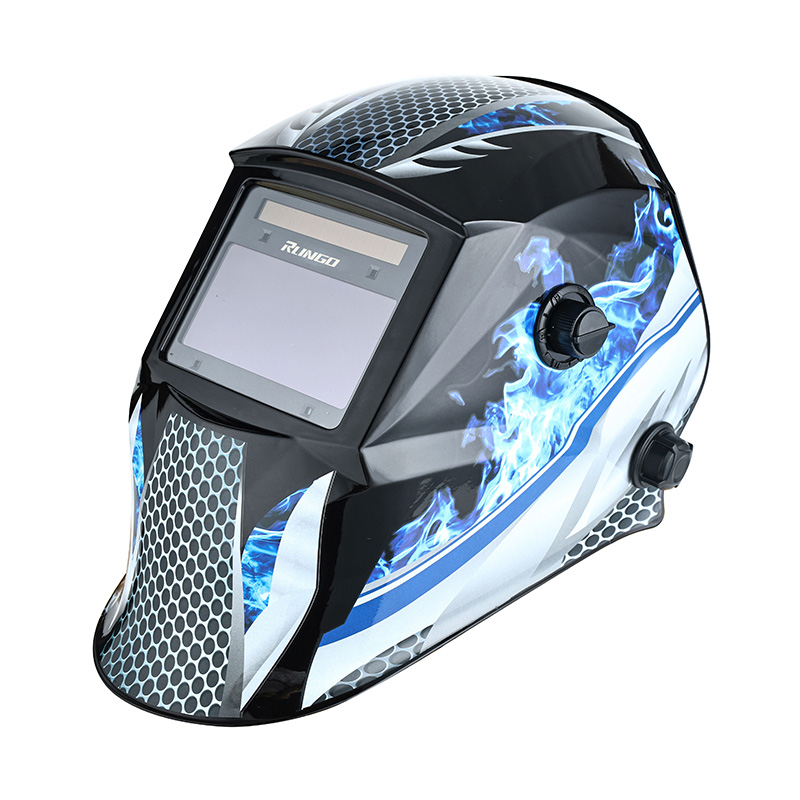
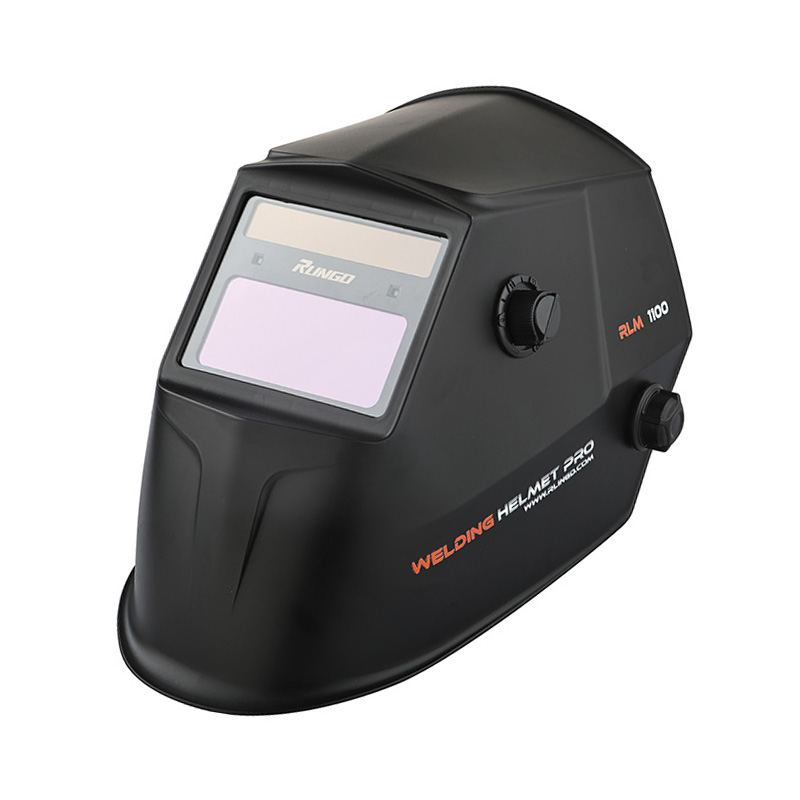
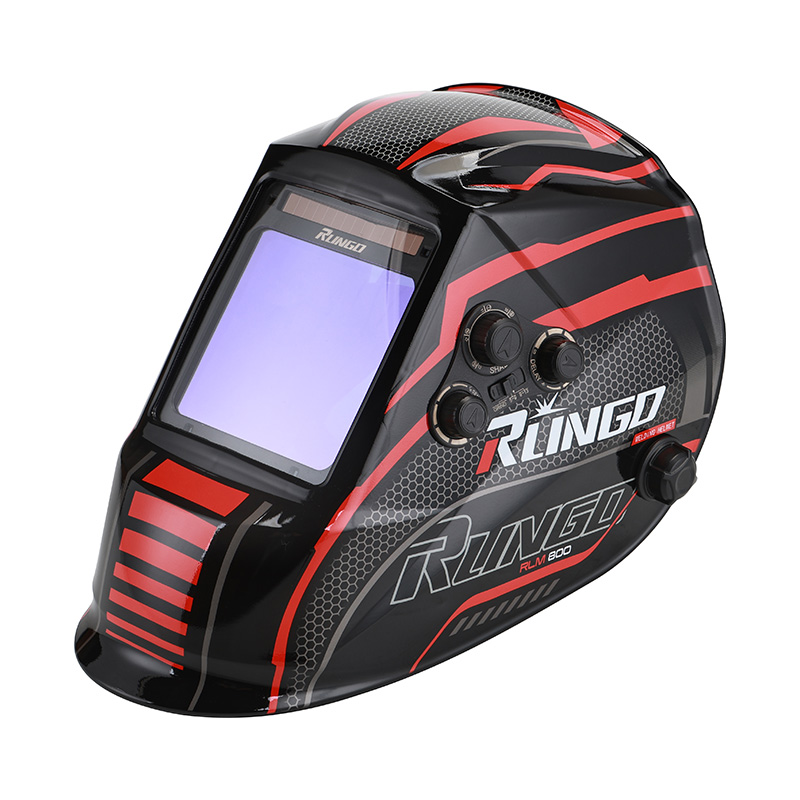
4. Helmet Shell Color and Finish Are Easy Branding Options
Visual customization is often the simplest place to start, especially for private-label welding equipment.
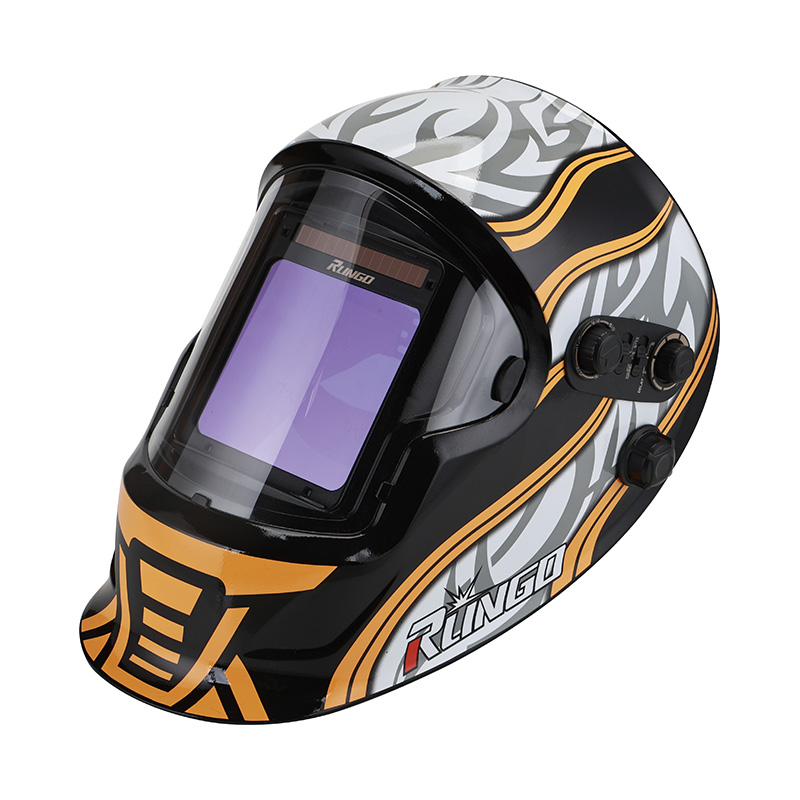
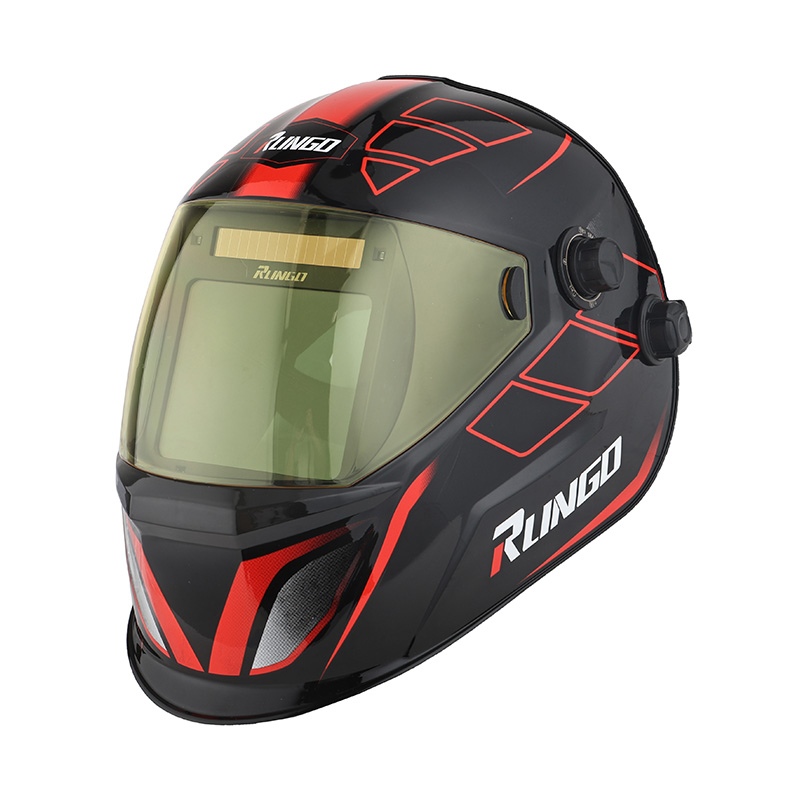
The helmet shell can potentially be customized through different colors, finishes, graphic patterns, or printed designs, depending on the manufacturer and production process.
This gives distributors and welding brands more flexibility when creating a recognizable product line.
Common requests include:
| Custom Item |
Typical Purpose |
| Shell color |
Match brand identity or product series |
| Graphic pattern |
Create a distinctive appearance |
| Matte or gloss finish |
Change the surface appearance |
| Logo |
Brand identification |
| Product markings |
Add model or operating information |
| Front graphic |
Support product-line design |
However, artwork should be checked against the actual helmet shape before production. A design that looks correct on a flat image may appear different when applied to a curved shell.
5. Logo Placement and Private Labeling Need Clear Specifications
For buyers selling helmets under their own brand, logo customization is usually a major requirement.
The logo may be placed on the front shell, side area, headgear, packaging, or product labels. The exact options depend on the construction and printing method.
Buyers should provide production artwork in an appropriate format and clearly specify:
- Logo position
- Logo size
- Printing or application method
- Required color
- Orientation
- Packaging branding
- Model identification
A reference sample is especially useful for logo placement. Once the artwork and position have been approved, they can be added to the production specification to reduce misunderstandings later.
6. Headgear Can Be Customized for Fit and Comfort
The welding shell gets most of the attention, but the headgear determines how the helmet sits on the user’s head.
Depending on the design, customization may involve the adjustment structure, straps, padding, adjustment wheel, sweat-absorbing components, or other contact parts.
For buyers supplying professional welders, headgear deserves practical testing. A helmet can have a suitable lens configuration and still be uncomfortable if the headgear does not adjust smoothly or distribute the weight well.
During sample evaluation, users should adjust the helmet themselves. Check how easily the size can be changed and whether the helmet remains stable when the user moves.
This type of hands-on testing is useful because comfort is difficult to judge from a product drawing alone.
7. Battery and Power Options Should Match the Product Design
Auto-darkening welding helmets need a power source for the filter system. Depending on the selected platform, the helmet may use batteries, solar-assisted charging, replaceable cells, or a combination specified by the manufacturer.
Power configuration should be considered together with operating conditions and maintenance requirements.
Buyers should ask:
- What type of battery is used?
- Is the battery replaceable?
- How is the power system maintained?
- What is the expected operating procedure?
- What happens when the power source needs replacement?
- Are replacement batteries or related parts available?
These details can matter when a distributor expects to provide products to users over a long sales period.
8. External Controls and Adjustment Layout Can Be Customized
The position and style of adjustment controls can affect how easily welders operate the helmet.
Sensitivity, delay, shade, and mode controls may be located inside or outside the helmet depending on the design. Some users prefer quick external access, while other applications may require less exposed adjustment.
For a custom product, buyers should think about who will use the helmet most often.
A helmet designed for training environments may need straightforward controls that are easy for new users to understand. A professional model may need a more specific control layout based on the intended workflow.
Testing a physical sample is important here. Small differences in control placement can make a larger difference in actual use than they appear to on a specification sheet.
9. Front and Side Protection Components May Also Be Selected
The front cover lens protects the auto-darkening filter from the working environment. Some helmet designs may also include additional protective components or replacement covers.
Buyers should ask the supplier which components are replaceable and whether spare parts can be supplied separately.
This is particularly useful for B2B customers because welding environments can be hard on consumable or replaceable parts. Having a clear replacement-part structure can simplify after-sales support.
The buyer should also confirm the dimensions and compatibility of replacement lenses before placing a bulk order.
10. Welding Helmet Accessories Can Be Customized
Customization does not have to stop with the helmet itself.
Depending on the supplier, buyers may be able to specify accessory combinations such as replacement front lenses, protective covers, storage bags, carrying cases, or other items included with the product.
Accessory selection can be useful when creating different product packages for different sales channels.
For example, one distributor may need a basic helmet package, while another may want replacement parts included for easier product maintenance.
The important point is to list every included component clearly in the purchase specification. A customized package should have a defined bill of materials so there is no confusion about what belongs in each carton.
11. Packaging and Instruction Materials Are Part of Customization
For private-label products, packaging often needs to be customized along with the physical helmet.
Possible options include retail boxes, inner cartons, labels, instruction manuals, warning information, barcodes, and outer-carton markings.
| Packaging Area |
Possible Customization |
| Retail box |
Logo, colors, product images |
| Manual |
Brand information and operating instructions |
| Product label |
Model and identification details |
| Barcode area |
Retail or distribution requirements |
| Outer carton |
Shipping and product markings |
| Accessory packaging |
Brand-matched presentation |
Buyers should review the final artwork carefully before mass production. Product specifications, operating instructions, and safety information should remain accurate when translated or redesigned for different markets.
12. Compliance Should Be Checked Before Custom Production
Customization should never be separated from safety and compliance requirements.
Welding helmets are protective equipment, so buyers need to determine which requirements apply to their target market and product category. Depending on where the helmet will be sold, applicable requirements may include relevant welding filter and eye-protection standards.
The supplier should be able to provide the compliance information and supporting documentation applicable to the offered configuration.
Buyers should also make sure the documentation matches the actual product being ordered. A certificate for one lens configuration does not automatically prove that a different customized configuration has the same qualification.
This is one reason sample approval and document review should happen before mass production.
13. What Buyers Should Confirm Before Approving a Custom Sample
A custom sample should be reviewed from both technical and visual perspectives.
The basic checks can be organized like this:
| Category |
What to Review |
| Lens |
Shade, sensitivity, delay, viewing area |
| Shell |
Size, shape, color, finish |
| Headgear |
Adjustment and fit |
| Controls |
Location and operating feel |
| Power |
Battery or power configuration |
| Accessories |
Included parts and compatibility |
| Branding |
Logo size, position, and quality |
| Packaging |
Artwork, labels, and contents |
| Documentation |
Specifications and applicable compliance records |
Do not judge the sample only by whether it looks like the drawing. Put it on, operate the controls, adjust the headgear, and use it in the type of work environment for which it is intended.
A few hands-on checks can uncover details that are easy to miss during an email-based product review.
14. Questions to Ask a Custom Welding Helmet Manufacturer
A detailed conversation with the manufacturer can make the customization process much smoother.
Start with the basic product platform and ask which components can actually be changed. Some suppliers can modify colors and branding easily, while technical changes to the filter or shell may require a different tooling arrangement or production process.
It is also useful to ask about minimum order quantities for custom colors, new artwork, packaging, and technical configurations.
Buyers should also clarify whether the customized helmet will use the same approved components as the standard version and whether new testing or documentation is required for the modified product.
A written specification is worth preparing before the purchase order. It can include the helmet model, lens configuration, shell design, logo artwork, accessory list, packaging, and inspection requirements.
That document then becomes a shared reference for the buyer and manufacturer.
How Customization Can Be Planned More Efficiently
A Custom Auto Darkening Welding Helmet project usually works better when customization is divided into several stages.
Start with the application and technical requirements. Then select the suitable helmet platform and lens configuration. After that, confirm appearance, branding, headgear, accessories, and packaging. A physical sample should be reviewed before the production details are locked.
This sequence keeps design decisions connected to actual product use.
For B2B buyers, it also makes supplier communication easier. Instead of discussing every possible option at once, the manufacturer can work through the specifications in a defined order and document the approved version.
When the final sample, artwork, component list, and inspection requirements are all aligned, there is a much clearer reference for the production order.


 English
 中文简体
中文简体 русский
 Español
 Inquiry