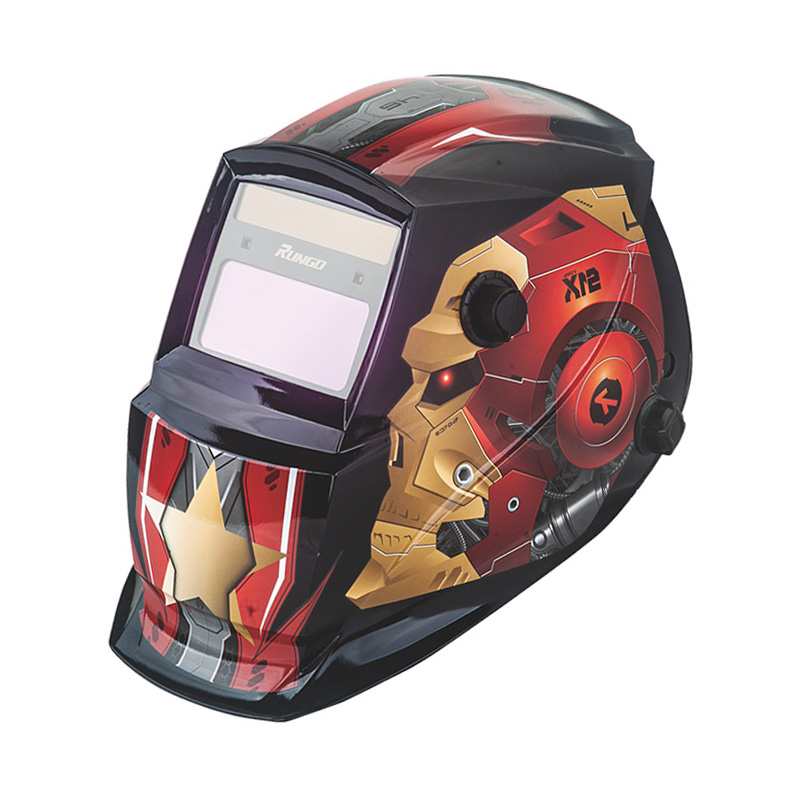
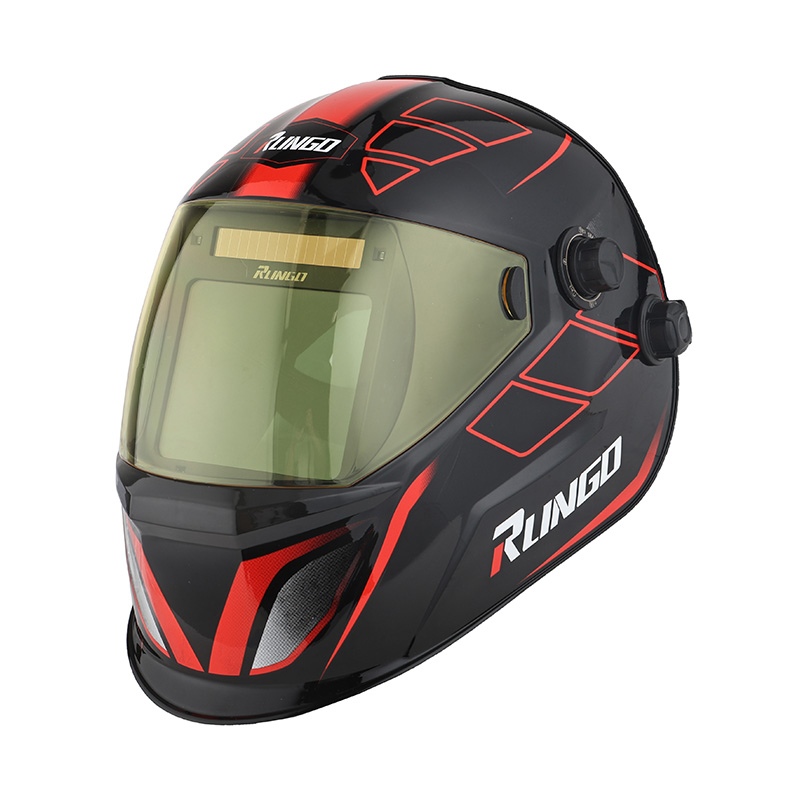
Welding is a craft that demands focus, precision, and, above all, safety. Among the essential equipment for welders, the auto darkening welding helmet plays a vital role. It protects the eyes from intense light, sparks, and radiation, allowing the welder to work comfortably and efficiently. However, owning a helmet is not enough. Regular and proper testing is necessary to ensure it performs as expected.
Testing auto darkening welding helmet might sound routine, but it is a careful process that verifies multiple components—from sensors and lenses to battery life and fit. Neglecting this step can leave welders exposed to risks that could have been avoided.
Why Testing an Auto Darkening Helmet Cannot Be Skipped?
No matter how advanced an auto‑darkening welding helmet is, it can stop working unexpectedly out on the job. These helmets depend on sensitive sensors, filter lenses and built‑in electronics that wear down over time, get covered in dust, or react to harsh workshop surroundings. If the lens dims too slowly or unevenly during welding, welders can face sudden temporary vision loss or long‑term eye fatigue and strain.
A lot of welders overlook regular helmet checks until small faults start disrupting their daily work. Simple routine testing catches early‑stage problems like out‑of‑alignment sensors, degraded lens performance, or weakening batteries long before they turn into serious safety risks. Building this quick check into daily habits makes on‑site work safer and lets welders feel more confident in their equipment.
In real‑world workshop conditions, welding helmets are constantly jostled, bumped, and exposed to intense welding arcs day after day. Regular testing makes sure the helmet still works properly even after months of heavy everyday use.
Observing Lens Reaction
The shade lens is the most vital part of an auto‑darkening helmet. Fast, even darkening directly keeps welders'eyes protected. To test this, hold the helmet up to a strong bright light source. A well‑functioning lens should shift smoothly from clear to dark right away.
Signs of trouble include uneven shading, slow response times, or faint lighter spots across the lens surface. Testing needs to be done from different angles and under varied lighting. Welders work under fluorescent workshop lights, natural sunlight, and nearby welding flashes, so the lens must react consistently in all these real‑life working environments.
Lens Check Example:
- Hold the helmet under a strong lamp.
- Tilt it to view from different angles.
- Observe how fast and evenly it darkens.
- Repeat several times to confirm consistency.
| Lens Area |
Action |
Observation |
| Center |
Bright light |
Darkens evenly without delay |
| Edges |
Same light |
No patches or uneven tint |
| Tilted angles |
Rotate helmet |
Uniform response across the lens |
This simple check can save a welder from discomfort and potential eye hazards during long shifts.
Testing Sensor Functionality
Auto darkening helmets rely on sensors to detect welding arcs. If a sensor fails, the lens may not darken when needed. Testing the sensors ensures that each one is fully operational.
A practical method involves exposing the sensors to a bright light while covering one sensor at a time. The lens should react immediately, regardless of which sensor is blocked. Testing from multiple angles confirms that all sensors detect light properly.
| Sensor Test Step |
Action |
Result |
| Cover single sensor |
Expose other sensors to light |
Lens darkens instantly |
| Expose all sensors |
Rotate helmet |
Uniform response |
| Repeat cycles |
Multiple exposures |
Lens consistently reacts |
Welders in real workshops move frequently. A helmet with non-responsive sensors can leave the eyes vulnerable. This check ensures that even in dynamic conditions, protection remains reliable.
Testing Shade Control
Welders regularly switch between different shade settings depending on what kind of welding work they're doing. Checking the shade control function makes sure every setting delivers steady, reliable eye protection.
Run through every available shade level while shining a bright light toward the helmet. The lens should shift smoothly and evenly with each adjustment. Sudden jumps in brightness or uneven shading put extra strain on the eyes, especially during long‑hour welding jobs. Using a powerful flashlight to mimic welding flash is a safe, easy way to test how well the shade settings work.
Simulated Testing Without Welding
You don't need to start a real welding arc to check an auto‑darkening helmet. A strong flashlight or dedicated testing tool can stand in for welding‑level brightness. This lets users run repeated safety checks without facing sparks, high heat or other welding hazards.
This test method can't copy every single real‑world welding condition perfectly, but it picks up most common problems: slow lens reaction, sensors out of alignment, or inconsistent shade shifts. Pairing regular simulated tests with occasional live‑welding checks gives a full picture of how well the helmet performs.
Checking Battery and Power
Auto‑darkening helmets run on either replaceable batteries or built‑in solar panels. Low power will slow the lens reaction or stop it from darkening at all. Testing the power source is simple, yet extremely important for on‑job safety.
Fit brand‑new fully charged batteries, or hold solar‑powered helmets under strong light. Watch how quickly the lens triggers and darkens. Many helmets have battery level lights — make sure these indicators show accurate power status. Keeping an eye on battery power routinely stops sudden equipment failure mid‑weld.
| Power Component |
Test Method |
Observation |
| Battery |
Fully charged battery |
Lens reacts immediately |
| Solar panel |
Expose to light |
Lens operates without external power |
| Indicator |
Observe status |
Accurate battery display |
Evaluating Comfort and Fit
If a welding helmet doesn't sit properly on your head, it can slide around while working, lowering eye protection and bringing on unnecessary tiredness over time. You should wear the helmet in various common working postures to check how comfortable it really feels for long‑term use.
Pay attention to any tight pressure spots, slipping movement, or loose fitting parts. Tweak the head straps and internal headgear until the helmet stays steady and secure. A well‑fitted helmet keeps protection consistent and cuts down distractions, even during hours‑long welding jobs.
Simple practical ways to test comfort and fit:
- Hold common working body positions for extended periods
- Adjust headgear so the helmet won't shift or slip
- Check padding for flattening or worn‑down areas
- Make sure straps and hinges move naturally without weakening safety coverage
Visual Inspection
Even when all functional tests work perfectly, a quick visual check can catch hidden safety issues you might miss otherwise. Look for scratches, cracks or surface damage on the viewing lens. Examine the headgear and adjustment parts for wear, splits or broken sections.
These small flaws slowly get worse with regular use, hurting both helmet performance and safety. When paired with all the function tests above, visual checks give you a full picture of whether your helmet is still safe to use.
Frequency of Testing
Testing should be a regular habit. Check new helmets before first use, after impacts, and periodically during regular use. Consistent inspection helps maintain reliability and ensures welders remain protected at all times.
A thorough routine includes:
- Lens reaction checks.
- Sensor verification.
- Shade control testing.
- Battery and power assessment.
- Comfort and fit evaluation.
- Visual inspection for hidden damage.
Integrating these steps into regular maintenance ensures consistent protection in diverse workshop conditions.
Real-World Testing Scenario
Imagine a welder preparing for a long shift. Before starting, he sets the helmet on a workbench under a bright shop light. Tilting the helmet, he observes the lens, noting even darkening across the entire viewing area.
He covers each sensor individually, confirming the lens reacts instantly. Switching shade levels, he watches the smooth transition, simulating different welding tasks. He then inserts fresh batteries and verifies the indicator lights function properly. Adjusting the straps, he ensures the helmet sits securely without pressure points.
Finally, he inspects the headgear and lens for scratches or cracks. Satisfied with the results, he begins work confidently, knowing the helmet will protect him consistently.
Practical Tips for Low-Risk Testing
- Use multiple light sources to simulate welding conditions.
- Rotate helmets among operators to observe performance under different usage styles.
- Record each test to monitor changes over time.
- Avoid dropping the helmet during testing.
- Test in various environmental conditions, such as high heat or low light, to simulate workshop realities.
By adopting a routine like this, helmet testing becomes habitual rather than a one-time task. It ensures welders maintain safety without guesswork or assumptions.